Grandma's Holiday Chocolate Peppermint Cake Recipe: A Sweet Tradition
The holiday season is a magical time, filled with warmth, cheer, and an undeniable craving for delicious treats. For many, nothing quite encapsulates this festive spirit like the classic combination of rich chocolate and refreshing peppermint. We all have those cherished family recipes that bring back a flood of memories, and this particular chocolate candy cane cake recipe is one that has stood the test of time in countless homes, including my own.
Passed down through generations, this isn't just any dessert; it's a slice of tradition, a bite of nostalgia, and a celebration of togetherness. Imagine the delightful aroma of chocolate and mint wafting from the kitchen, drawing everyone closer. This isn't just a cake; it's a centerpiece that promises joy, laughter, and unforgettable moments. Get ready to create your own sweet memories with Grandma's treasured holiday confection.
The Heartwarming Story Behind Grandma's Sweet Tradition
There's something uniquely special about a recipe that carries a family story. For us, the holidays simply weren't complete without something rich in chocolate and bright with peppermint. This perfect chocolate candy cane cake recipe embodies both, making it an irreplaceable part of our festive celebrations. I vividly recall the very first time Grandma unveiled this masterpiece – the kitchen filled with an intoxicating mix of deep cocoa notes and the sweet, crisp scent of crushed candy canes.
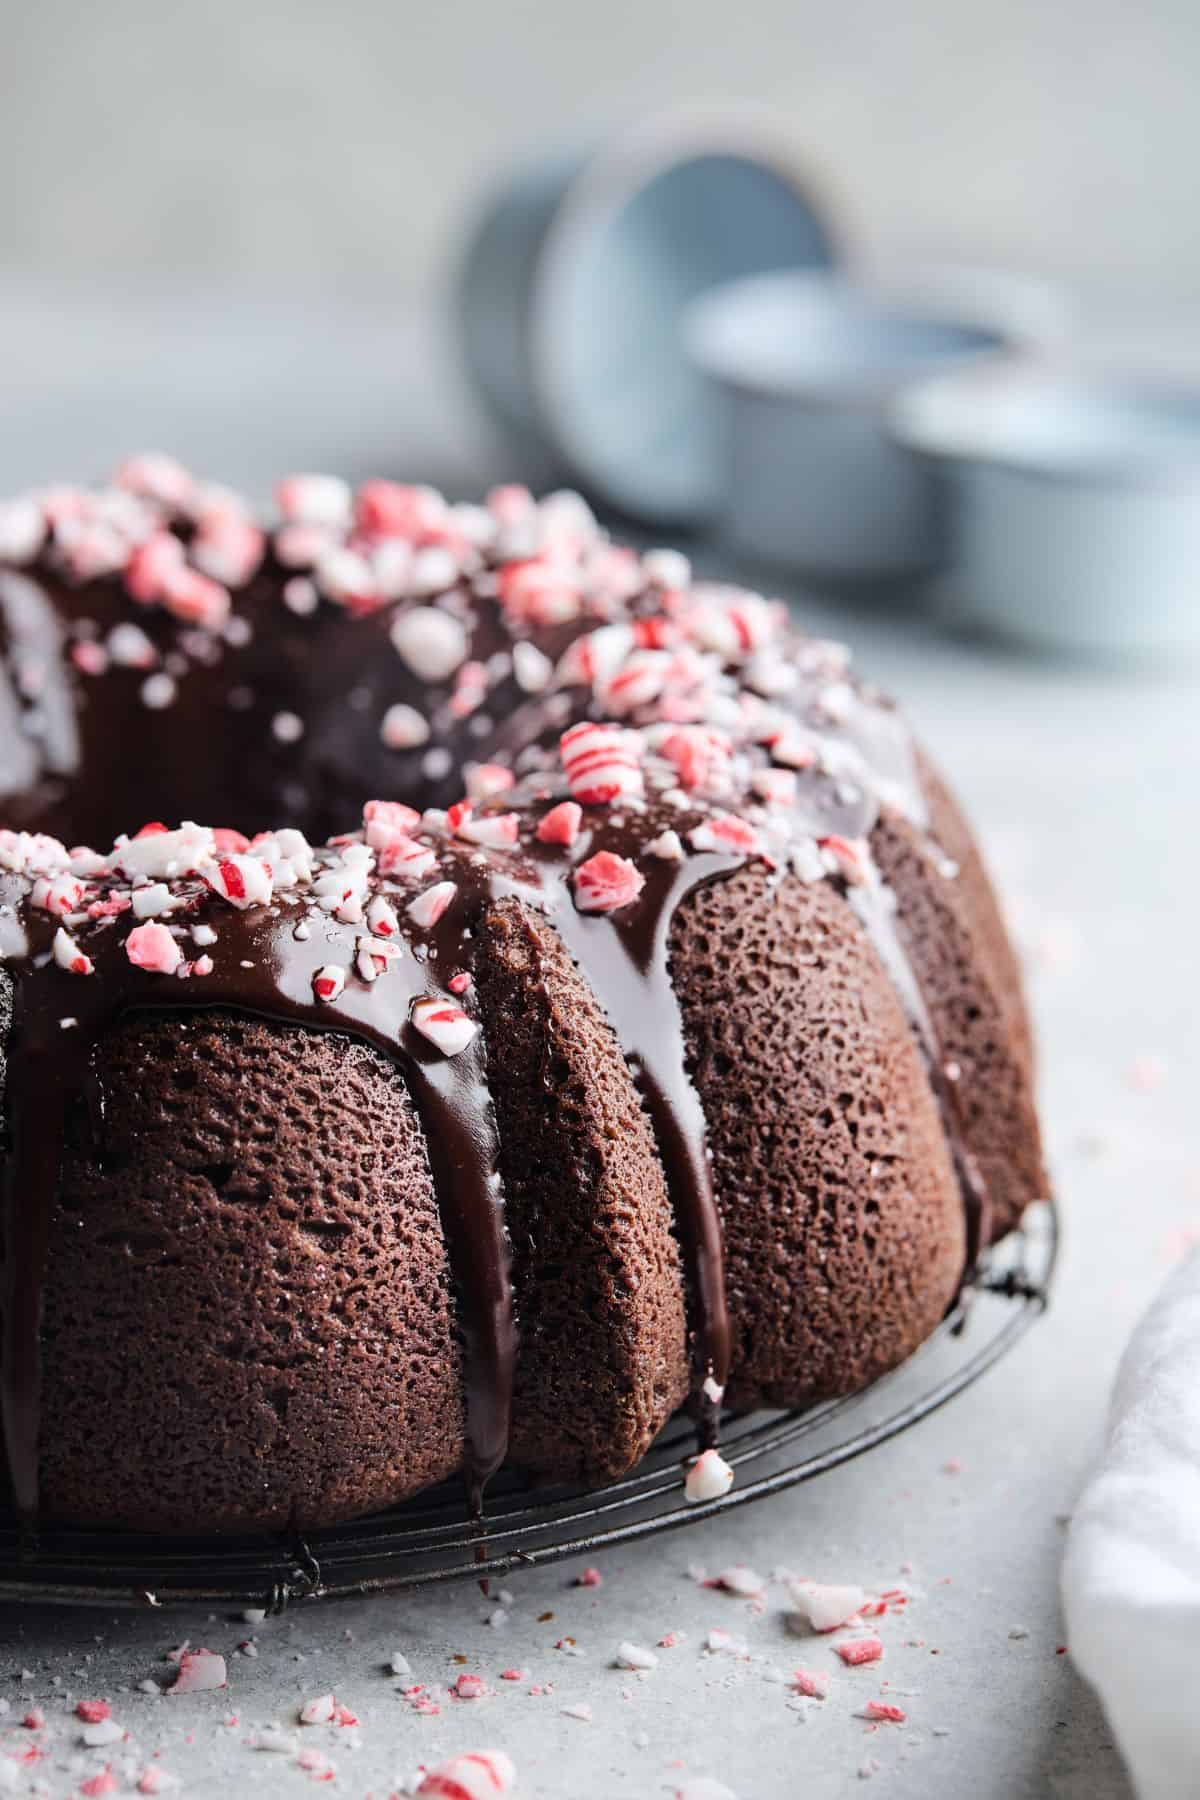
The visual appeal was just as captivating: fluffy white frosting adorned with vibrant red and white candy cane sprinkles, making each slice look like a miniature winter wonderland. It felt like Christmas magic had been perfectly captured on a plate. That feeling of anticipation, joy, and comfort is precisely what I strive to recreate every year when I bake this cake for my own family. It’s more than just a dessert; it’s a continuation of love, a connection to the past, and a delightful way to share happiness in the present.
Mastering the Art of Grandma's Chocolate Candy Cane Cake Recipe
Don't let the impressive appearance fool you; Grandma’s chocolate candy cane cake recipe is surprisingly straightforward, relying on a few clever shortcuts that ensure a consistently moist and flavorful result without endless hours in the kitchen. This recipe is designed for ease, allowing you more time to enjoy the festivities.
Essential Ingredients for Your Festive Creation
Gathering your ingredients is the first step to baking bliss. Here's what you'll need, along with a few insights into why each component is crucial:
- 1 (18 ounce) package chocolate cake mix (2 layer): A convenient base that saves time without sacrificing flavor.
- 1 (42 g) package instant chocolate pudding mix (enough for 4 portions): This is Grandma's secret to an incredibly moist and rich cake. The pudding mix adds a tender crumb and intensifies the chocolate flavor.
- 4 large eggs: Provide structure and richness to the cake.
- 1 cup sour cream: Another secret weapon for moisture and a slight tang that balances the sweetness. It contributes to a wonderfully tender texture.
- 1/2 cup vegetable oil: Ensures a consistently moist cake, contrasting with butter which can sometimes make cakes drier.
- 1/2 cup water: Helps bring the batter to the perfect consistency.
- 4 semi-sweet chocolate baking squares, chopped: These melt into pockets of pure chocolate goodness within the cake, adding an extra layer of decadence.
- 1 cup candy canes, crushed: The star of the show for that signature peppermint crunch and festive aesthetic.
- 3 cups Cool Whip: A light, airy, and easy-to-use frosting that perfectly complements the rich cake.
Tools of the Trade: What You'll Need
Having the right equipment makes the baking process smooth and enjoyable:
- 2 9-inch round cake pans: The standard for a classic layered cake.
- Electric mixer: Essential for combining ingredients thoroughly and efficiently.
- Large mixing bowl: To comfortably accommodate all your cake batter ingredients.
- Measuring cups and spoons: Precision is key in baking!
- Wire rack: Crucial for even cooling of your cake layers.
Step-by-Step Guide to Baking Perfection
- Prepare Your Oven: Preheat your oven to 350°F (175°C). Ensure your oven rack is positioned in the center for even baking.
- Prep Your Pans: Grease two 9-inch round cake pans thoroughly. You can use shortening, butter, or cooking spray. After greasing, lightly flour the pans to create a non-stick surface. Tap out any excess flour to prevent white streaks on your finished cake.
- Combine Dry & Wet: In your large bowl, combine the chocolate cake mix, instant chocolate pudding mix, eggs, sour cream, vegetable oil, and water.
- Initial Mix: Using an electric mixer on low speed, beat the ingredients until they are just moistened. Be careful not to overmix at this stage, as overworking the gluten can lead to a tough, dense cake.
- Full Blend: Increase the mixer speed to medium and beat for 2 minutes until the batter is well blended, smooth, and creamy.
- Fold in Goodies: Gently stir in the chopped chocolate squares and about 2 tablespoons of the crushed candy canes. Reserve the remaining crushed candy canes for a generous garnish later.
- Divide & Conquer: Spoon the batter evenly into your two prepared cake pans. You can use a kitchen scale for perfectly even layers.
- Bake to Perfection: Bake for 50 minutes to 1 hour, or until a wooden toothpick inserted into the center of a cake comes out clean. Start checking for doneness around the 50-minute mark. If the tops begin to brown too quickly, you can loosely tent them with aluminum foil.
- Initial Cool: Cool the cakes in their pans for 10 minutes. This allows them to firm up slightly, making them easier to handle without crumbling.
- Cool Completely: Invert the cakes onto a wire rack and allow them to cool completely. This is a critical step! Attempting to frost a warm cake will result in a melted, runny frosting.
- First Layer of Frosting: Once the cakes are completely cooled, place one layer on your chosen serving plate. Spread evenly with 1 cup of Cool Whip.
- Stack It Up: Gently place the remaining cake layer on top.
- Frost Away: Frost the entire cake with the rest of the Cool Whip, ensuring even coverage on the top and sides.
- Garnish Generously: Liberally sprinkle the remaining crushed candy canes over the top and sides of the cake for that quintessential festive look.
- Chill & Serve: Refrigerate the cake for at least 30 minutes to allow the frosting to set properly before slicing and serving. This also helps the peppermint flavor infuse beautifully.
Elevating Your Chocolate Candy Cane Cake: Expert Tips & Variations
While Grandma's base recipe is perfection, there are always ways to personalize and enhance your chocolate candy cane cake recipe, making it truly your own festive masterpiece.
- Boosting the Chocolate Flavor: For an even deeper, more intense chocolate experience, consider adding 1/4 cup of unsweetened cocoa powder to the cake batter along with the dry mixes. You could also use dark chocolate baking squares instead of semi-sweet for a more sophisticated bitterness. A drizzle of homemade chocolate ganache over the finished cake just before serving adds an extra layer of decadence.
- The Peppermint Punch: While candy canes are fantastic, you have options! For a stronger, more consistent mint flavor throughout the frosting, consider folding a few drops of pure peppermint extract (start with 1/4 teaspoon and add more to taste) into your Cool Whip. If you're concerned about candy canes becoming sticky or melting, especially if making the cake in advance, swap out some of the crushed candy canes for Andes Peppermint Crunch baking bits or similar chocolate-mint pieces, as suggested in expert tips from sources like The Spruce Eats. These hold up beautifully and still deliver that delightful minty crunch. Learn more about Make-Ahead Chocolate Candy Cane Cake Tips for Holiday Entertaining.
- Frosting Finesse: While Cool Whip is wonderfully convenient, feel free to experiment with other frostings. A classic cream cheese frosting with a hint of peppermint extract, or a homemade vanilla buttercream infused with peppermint, can elevate the cake. For a richer, more stable frosting that stands up well at room temperature, consider these alternatives.
- Presentation & Garnish: Go beyond just crushed candy canes! Arrange mini candy canes around the edge of the cake, or create elegant chocolate curls using a vegetable peeler on a block of chocolate. A light dusting of powdered sugar can give it a snowy effect, enhancing the holiday theme.
- Serving Temperature: While the cake needs to be refrigerated to set the frosting, allowing it to sit at room temperature for about 15-20 minutes before serving can enhance its flavors and soften the cake for a more tender bite.
- Making it Festive & Unique: This recipe is a fantastic canvas for your creativity. Consider adding a layer of chocolate ganache between the cake layers, or tinting a small portion of your Cool Whip with red food coloring for a swirl effect. For more inspiration on creating truly show-stopping holiday desserts, check out this guide on Easy Chocolate Candy Cane Cake: Your Festive Holiday Dessert.
Frequently Asked Questions About Your Chocolate Candy Cane Cake Recipe
Here are some common questions you might have when preparing this delightful holiday dessert:
- Can I use homemade whipped cream instead of Cool Whip?
Absolutely! Homemade whipped cream (heavy cream whipped with powdered sugar and a touch of vanilla or peppermint extract) can be used. Just be aware that homemade whipped cream is less stable than Cool Whip and may need to be applied closer to serving time or the cake stored in the coldest part of your refrigerator.
- How do I prevent the candy canes from getting sticky?
Candy canes are sugar-based and absorb moisture, which can make them sticky. To minimize this, add them as close to serving time as possible. Alternatively, use peppermint crunch baking bits (like Andes Peppermint Crunch) which are more stable and less prone to stickiness.
- Can I freeze this chocolate candy cane cake?
Yes, you can! For best results, freeze the unfrosted cake layers wrapped tightly in plastic wrap and then foil for up to 2-3 months. Thaw them in the refrigerator overnight before frosting. If freezing a frosted cake, ensure the frosting is firm, then wrap tightly. Be aware that the texture of the candy canes might change slightly upon thawing, potentially becoming softer.
- What if I don't have sour cream?
You can substitute an equal amount of plain Greek yogurt or buttermilk for the sour cream. Both will add moisture and a slight tang, though the texture might vary slightly.
- How can I make this cake truly look like a Christmas showstopper?
Beyond the generous garnish of candy canes, consider decorating the serving plate with extra crushed candy canes, or arranging a few whole mini candy canes on top of the cake. A light dusting of edible glitter or sugar snowflakes can add extra sparkle. For even more creative ideas, revisit our tips on making your Easy Chocolate Candy Cane Cake: Your Festive Holiday Dessert truly spectacular.
Grandma's Holiday Chocolate Peppermint Cake is more than just a recipe; it's an invitation to create lasting memories. Its perfect blend of moist chocolate cake, refreshing peppermint, and easy preparation makes it an ideal choice for holiday gatherings. Whether you're carrying on a family tradition or starting a new one, this delightful chocolate candy cane cake recipe promises to bring smiles, warmth, and that undeniable taste of holiday magic to your table. So, gather your ingredients, preheat your oven, and get ready to bake a tradition that your family will cherish for years to come.
